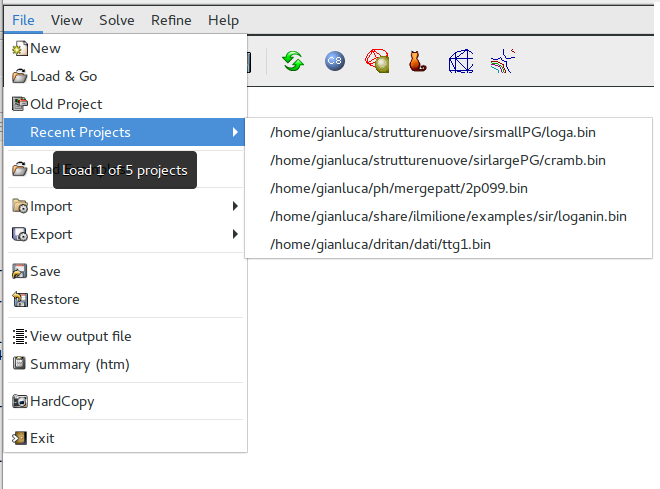
Sub-menu File:

It allows
Some of these can be accessed directly using icons in the toolbar.
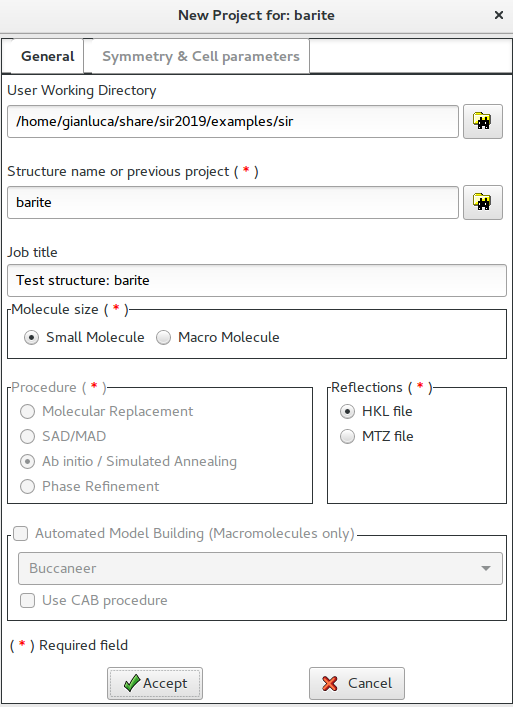
A sequence of windows helps the user to set up an input file for the program. In these windows the user has to supply the information required, click on the button Accept and check the results in the yellow text area at the bottom of the window. As soon as the data have been accepted, the next window will be accessible.
In the first window the user can select the working directory, assign a name to the structure or recover a previously created New Project file and supply a title string. The size of the structure and the type of reflections file has to be set.
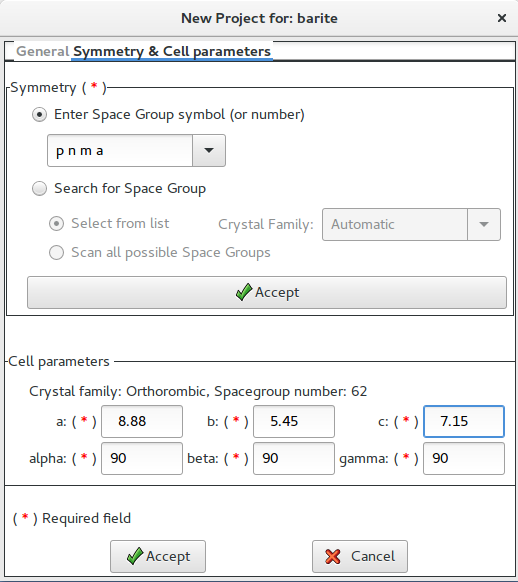
In the second window the user can select the space group symbol from a list, write it or its number in International Tables directly in the entry field.
If the user is not sure about the space group, it is possible to search for a possible space group (Search for Space Group) or to apply the program to all the most probable ones (Scan all possible Space Groups).
By clicking on Accept button the program will define the crystal family and provide the corresponding default values.
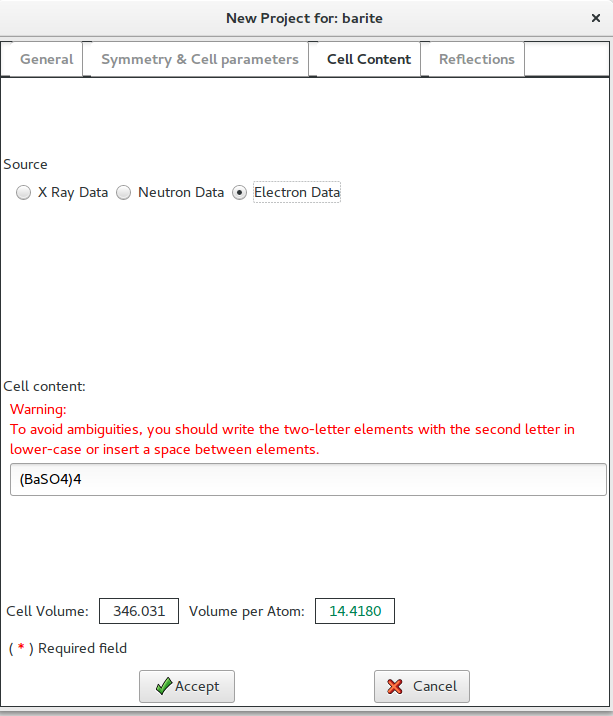
In the third window the user provides the unit cell content. In the following example electron diffraction data are used, so “Electron data” has to be checked.
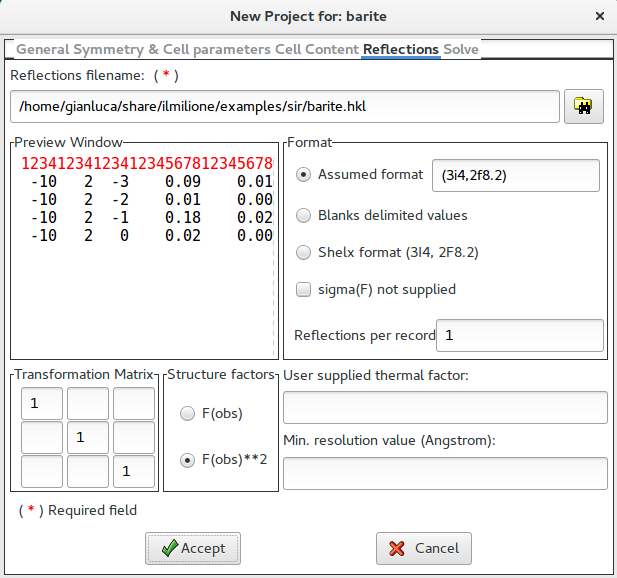
In the fourth window information about reflections has to be provided. Details about the possibilities offered in this window can be obtained looking at Directives: Data Routine. A preview Window is shown to define correctly the Format information.
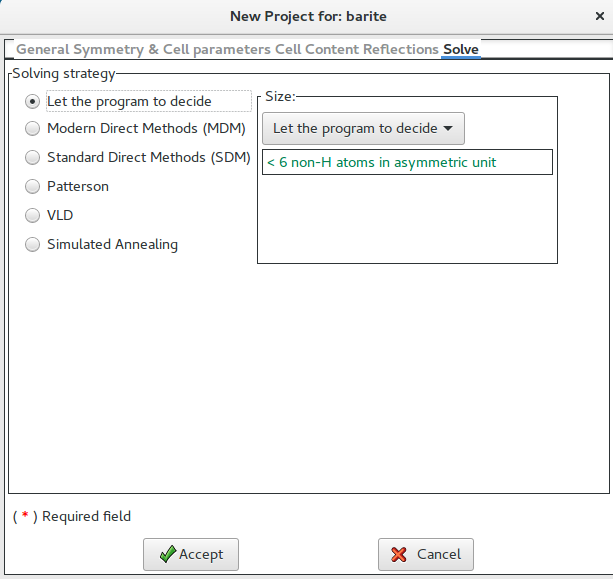
The fifth window requires information about the phasing procedure. Details about the possibilities offered in this window can be obtained looking in Description of Sir2019: Phase module or in Directives: Phase Routine.
The last window informs the user that an input file is going to be created. The user, by clicking on ![]() button, can save the input file for Sir2019.
button, can save the input file for Sir2019.
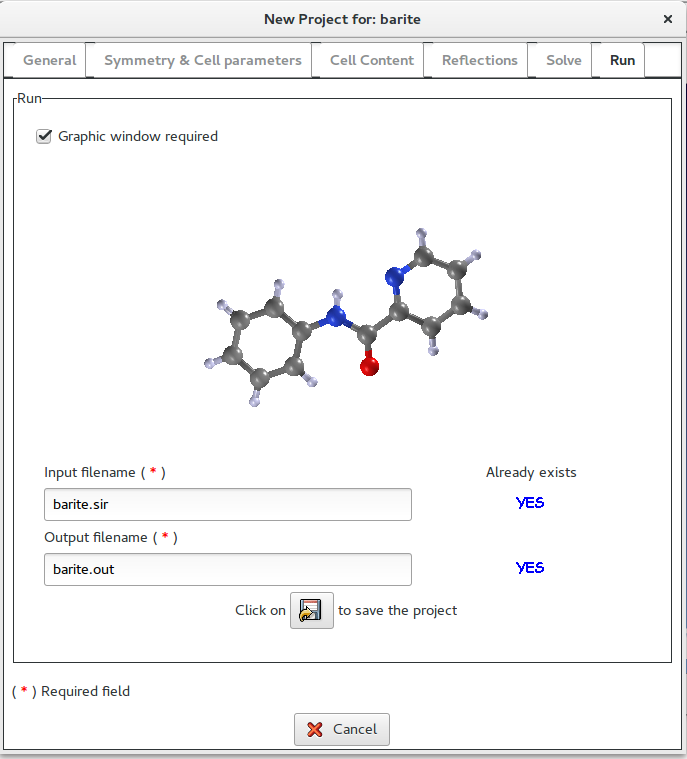
If Graphic window required is checked, a graphical output will be produced.
It is possible to change the default names for the input (project) and for the output file.
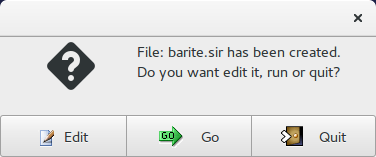
At this stage, the user can edit the input file just created, can start the program on this file or quit.
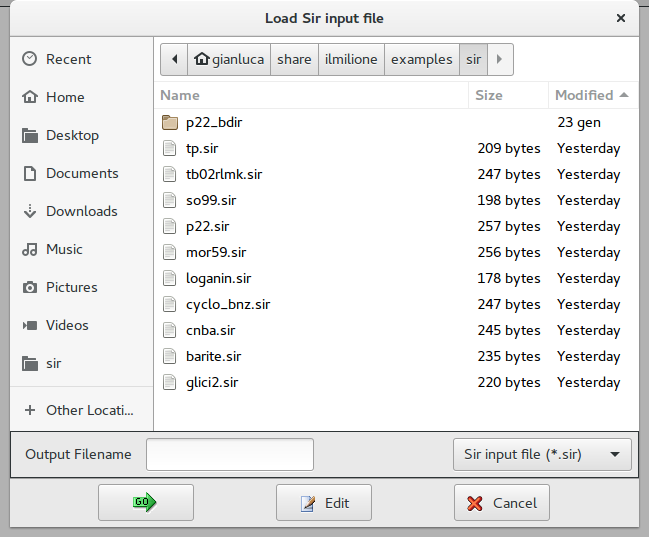
The file selection window will be opened in order to select the input file (.sir). The selected file can be edited using an internal editor.
The file selection window should be opened in order to select an old project file:
The program stores the name of the 5 most recent projects opened by the program. The user can select among them.
The file selection window will be opened in order to select an input file provided as example.
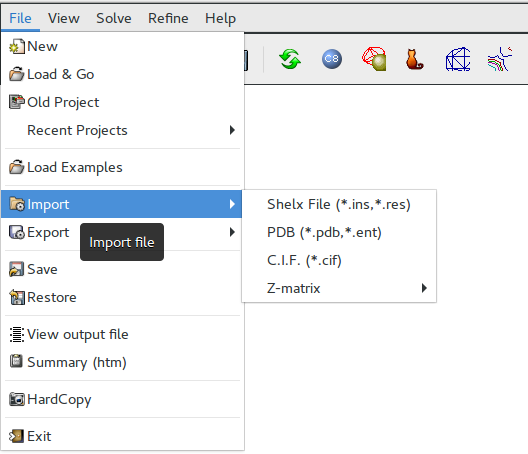
Data from files in different format can be imported:
-
- Shelx file (*.ins)
-
- PDB file (*.pdb)
-
- CIF file (*.cif)
- Z-matrix file (*.zmt or *.mop)
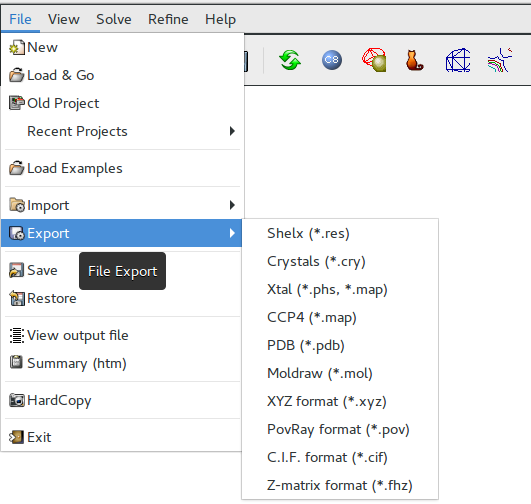
Sir2019 can produce files for different programs or applications:
-
- Shelx (a complete input file)
-
- Crystals (coordinate file)
-
- XtalView (reflections and map files)
-
- CCP4 (map file)
-
- PDB (coordinate file)
- PDB (coordinate file)
-
- Moldraw (a complete input file)
-
- XYZ (coordinate file)
-
- PovRay (a complete input file)
-
- C.I.F.(complete file)
- Z-matrix.(*.zmt)
The current project file or model is saved. It could be restored, in case of troubles, using the Restore feature
A previously saved project file or model is restored.
It can be used to view the output file.
Starts the Internet Browser on a page containing the summary of the results.
An image file (PNG) is created with the program window content.
This is used to exit the program. All relevant information will be stored and saved in the project (.BIN) file.